Example Lead Paint Projects in Round Rock

Each example starts with a test and ends with finished work. Along the way it covers the house, the owners’ reason for calling, the test result, the work, the time it takes and an approximate cost. Only about 1 in 10 Round Rock homes were built before 1980. Lead paint is only a question in those older houses, so every example is set in one.

We made these examples up, and none is a past job or a real client’s house. They are drawn from how old local houses are, how each kind of job normally runs and what the work costs now, to help you plan before asking for a quote.

Lead hazards checked before a first baby

Example project
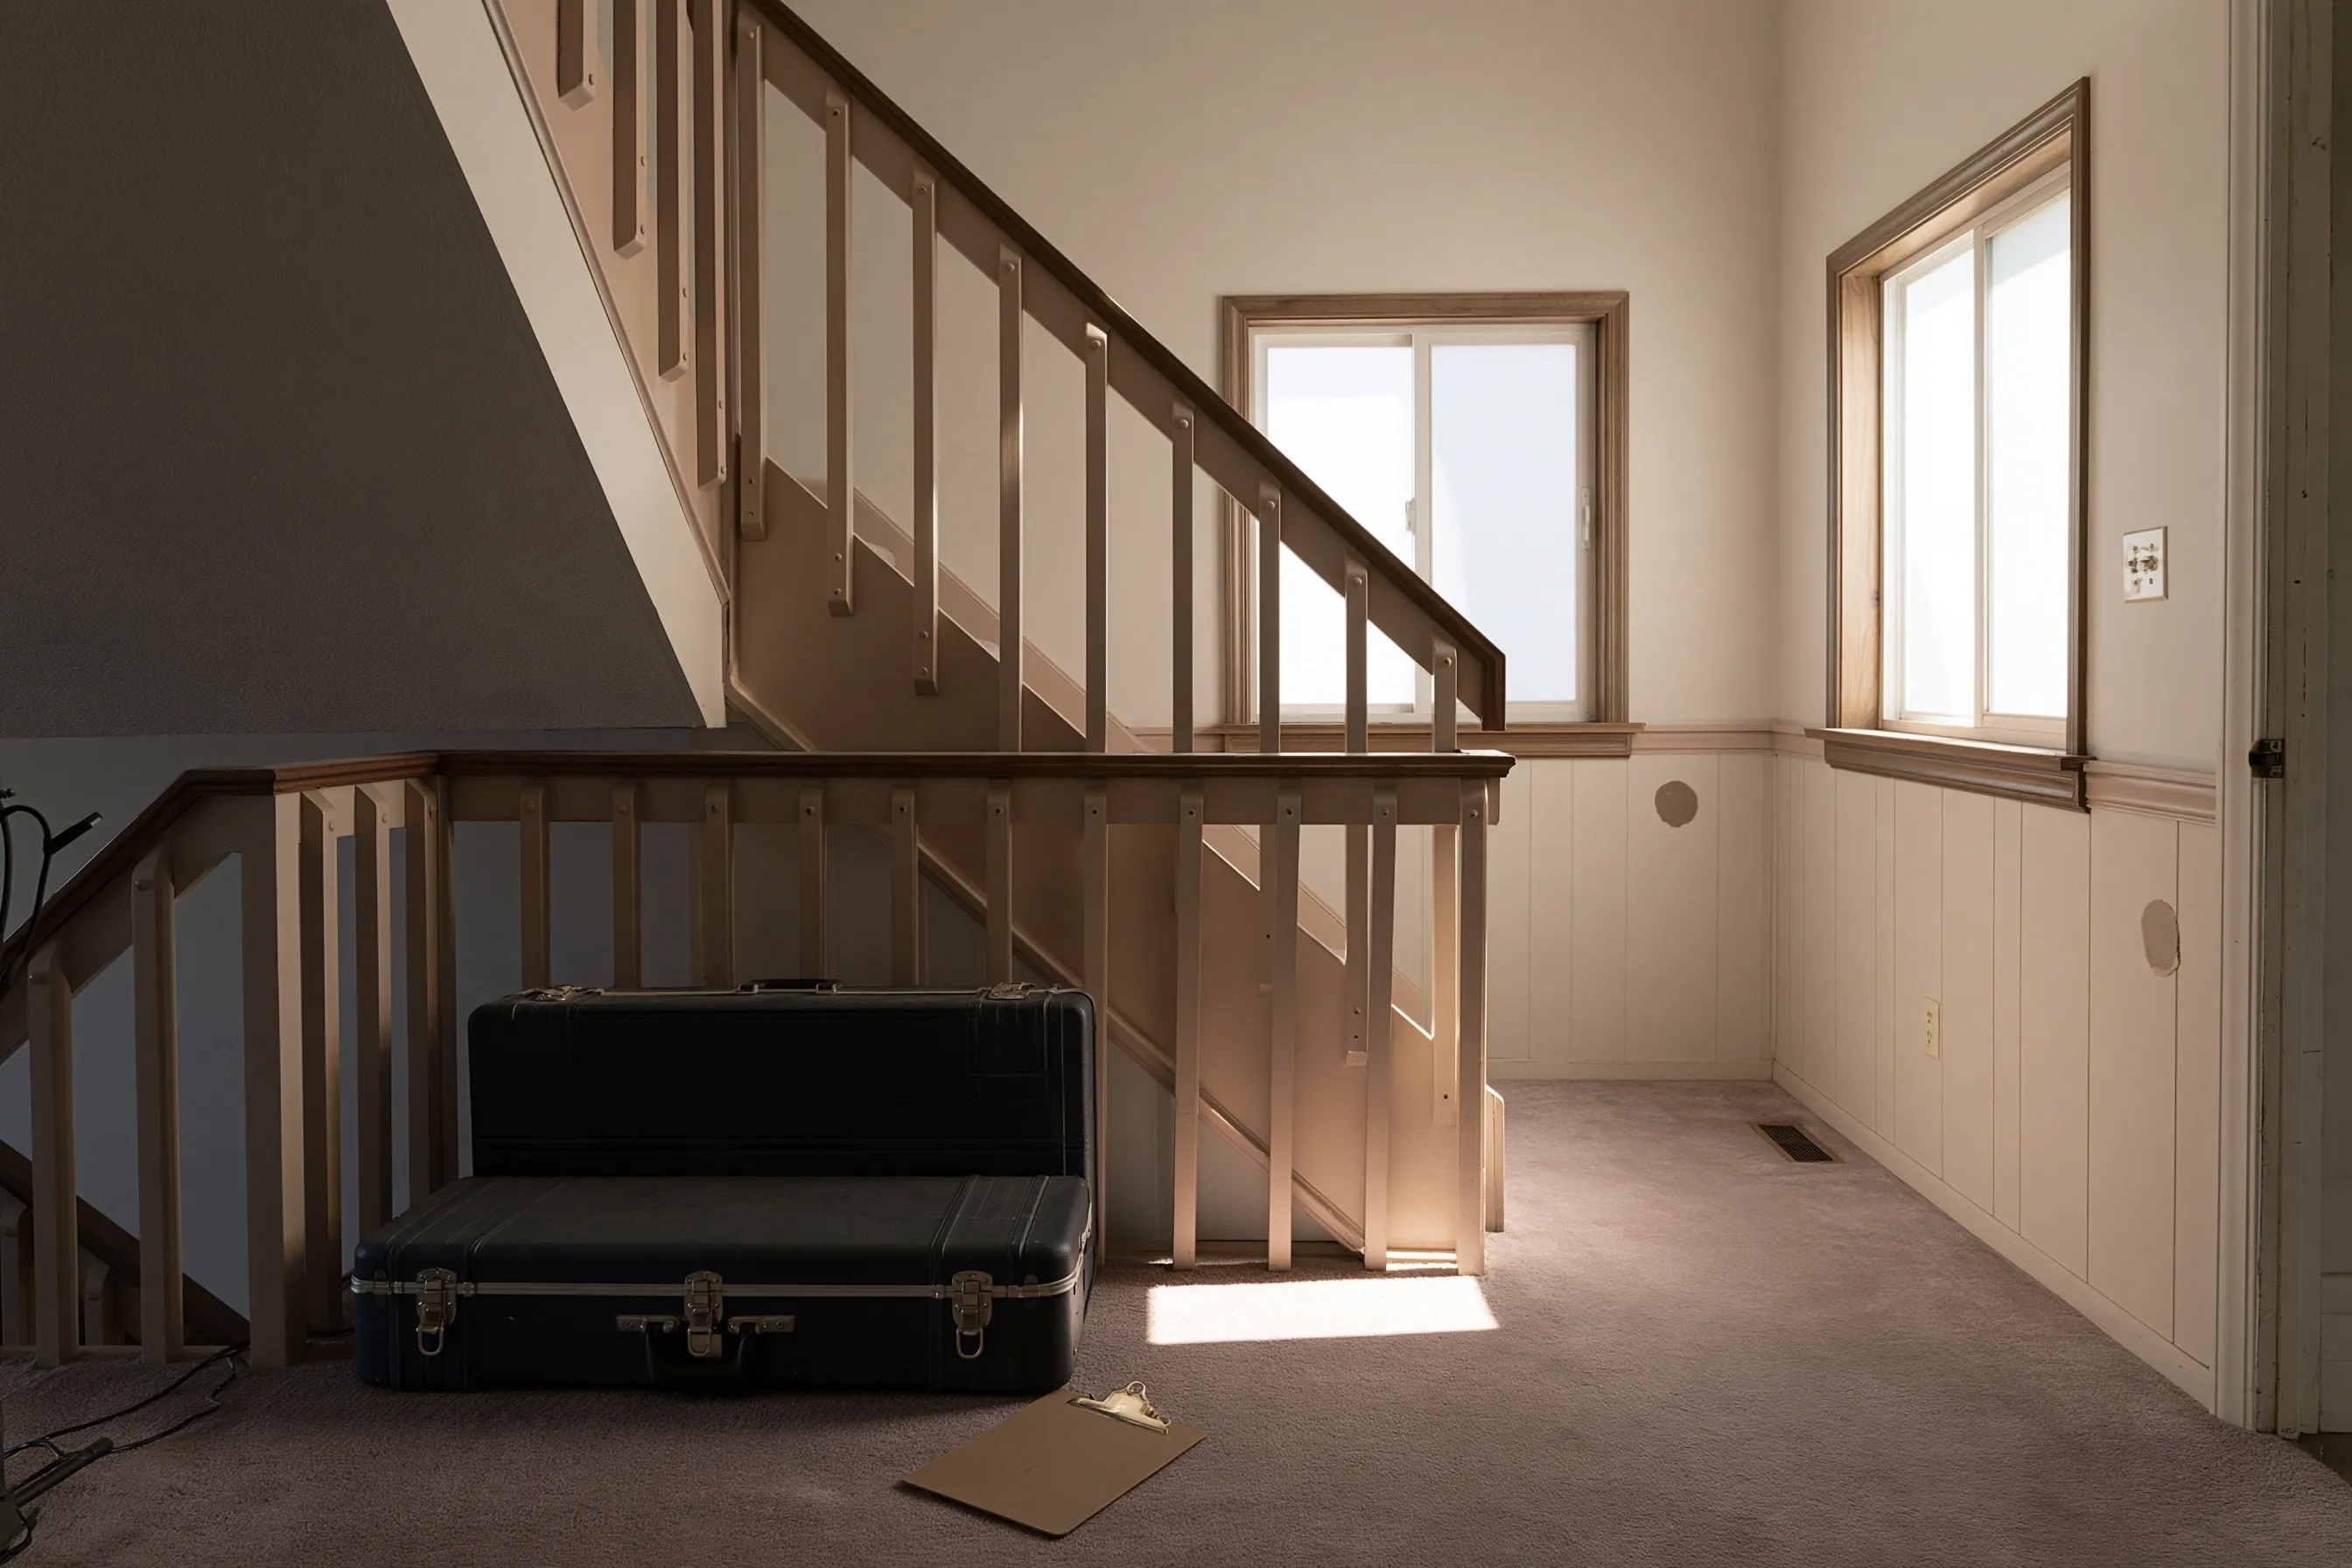
Sunlit carpet at the foot of a stair, pale painted balusters along two runs, white paneled walls below the windows, and a hard case with a clipboard beside it
Home
Split-level house in Round Rock built in 1972, about 2,000 sq ft
Original request
Know whether the house has any lead hazards before a baby arrives
Testing
Paint readings, wipe samples of floor and sill dust, and outside soil samples
Finding in this example
Lead paint on the stair railings and the paneled wainscot; floor dust high on the landing; soil clear
Timeline
Three to four hours on site; lab results and the report in about a week
Estimated cost
$850

Scope of work

Readings on the painted surfaces that wear, rub or could be chewed, dust wipe samples from floors and window sills in the rooms the family uses most, soil samples from along the house walls and the play area, and a written report that lists each hazard with ways to fix it. Fixing what it finds is a separate price.

Project overview

In this example, a couple expecting their first baby owns a split-level Round Rock house built in 1972, a few years before lead paint for homes was banned. They do not plan any work, they just want to know what is there before the baby starts crawling.

A risk assessment answers that question better than a paint test alone, because it also checks dust and soil. Here it finds lead paint on the stair railings and the paneled wainscot along the landing, and high dust on the landing floor, where hands and feet rub past them every day. The report lists cleaning, repainting the railings and treating the wainscot, so the couple can fix the worst spots first.

The goal

The goal is a clear list of where the hazards are and what to fix first, before the baby is on the floor.

Process

  1. Before the visit Build year confirmed and the rooms the family uses most noted.
  2. Visit Paint readings room by room, dust wipes where the baby will crawl and sleep, soil from the yard.
  3. About a week later Report arrives with the lab results and a fix for each hazard.
  4. Next The couple books the railing and wainscot work and a cleaning, then a clearance test.

Planning right

  • Worn and rubbed surfaces matter most. Stair railings and the wainscot along a busy landing are common spots.
  • Wipe floors and sills with a damp paper towel until the work is done. Do not dry dust or sweep.
  • Soil near the house is worth testing if children will play there.
  • A house built in 1978 or later is very unlikely to have lead paint.

Get a free quoteMore about lead paint inspection and risk assessment
Lead-safe trim and crack repair after foundation leveling

Example project

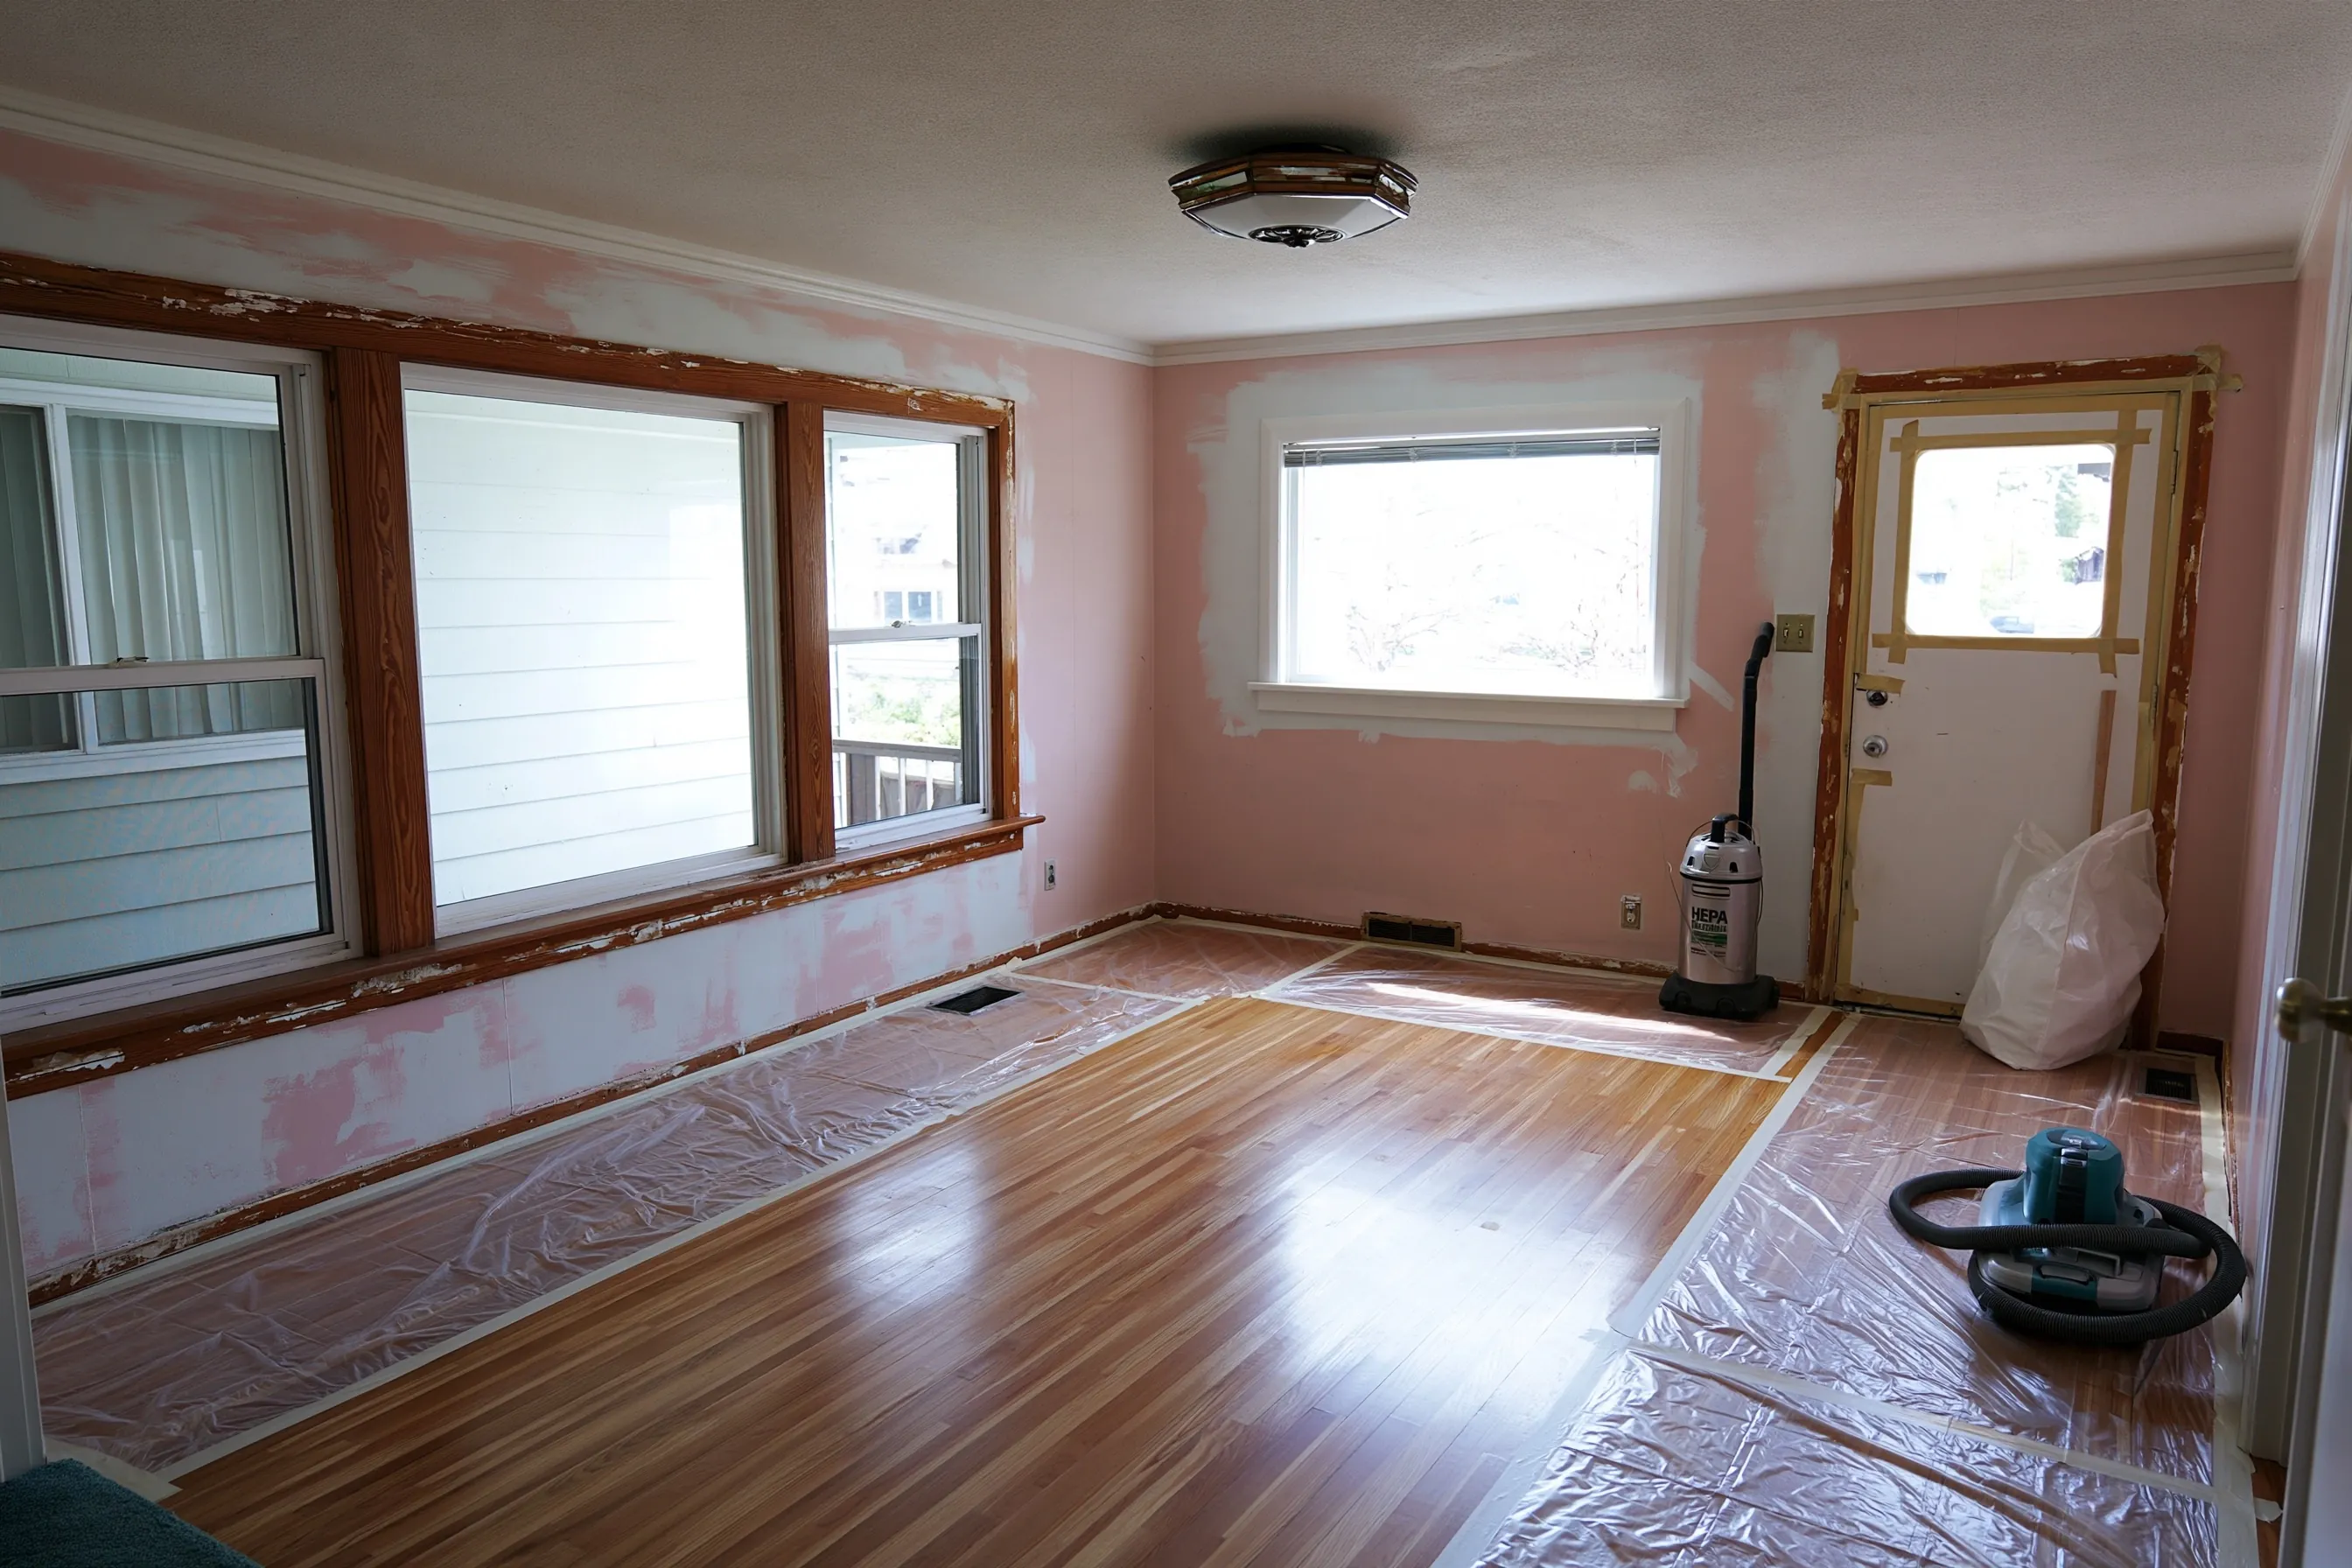
Living room cleared for repair, with casings scraped back to the wood around four windows and the back door, white patches over wall cracks, plastic strips on the floor and two vacuums
Home
1960s duplex in Pflugerville, two units of about 900 sq ft each
Original request
Repair the cracked walls and loose casings in the owner’s living room after the foundation is leveled
Testing
Old casing paint positive for lead; walls clear
Work area
The living room, about 200 sq ft, with four windows and the back door
Lead-safe add-on
Plastic along the walls, casings misted before scraping, HEPA vacuuming, a cleaning check, debris bagged
Timeline
Adds about half a day to a three-day repair by a carpenter and a painter
Estimated add-on cost
$800

Scope of work

Plastic along the walls under the windows and the back door, the doorways taped, loose and cracked paint on every window and door casing misted and scraped by hand where it hangs, HEPA vacuuming and wet wiping each day, a cleaning check of the floor and sills, and bagged disposal. Resetting the casings, patching the wall cracks and painting are the repair itself and priced on their own.

Project overview

In this example, one side of a 1960s Pflugerville duplex is the owner’s own home. After the pier-and-beam foundation is leveled, her living room has cracks running out from the window and door corners, and casings that have pulled away from the wall. A test shows lead in the old paint on the casings, but not on the walls.

A carpenter resets the casings and a painter patches the cracks. The lead-safe work is an add-on for the part that disturbs the casing paint, which is misted and scraped onto plastic with the casings still on the wall. A cleaning check at the end shows the room is clean before the furniture comes back. In Texas these rules for paid repair work come from the EPA.

The goal

The goal is square casings, smooth walls and a clean living room, with the lead-safe add-on priced only for the trim it touches.

Process

  1. Before work Test results reviewed, furniture moved to the bedrooms and the work kept to the living room.
  2. Day one Plastic down, each casing misted and scraped where it hangs, loose ones reset and nailed.
  3. Day two Wall cracks opened, taped and patched, and the bare casings primed.
  4. Day three Paint goes on, then the room is HEPA vacuumed, wiped down wet and given its cleaning check.

Planning right

  • Wait a few weeks after leveling before patching. A house often settles a little more at first.
  • Misting old casing paint before scraping keeps most of the dust on the plastic.
  • A door that sticks after leveling often needs only its hinges adjusted, not planing.
  • Get the carpenter and the painter to say in writing who does the lead-safe part.

Get a free quoteMore about lead-safe renovation

Ten old windows replaced after a hailstorm

Example project

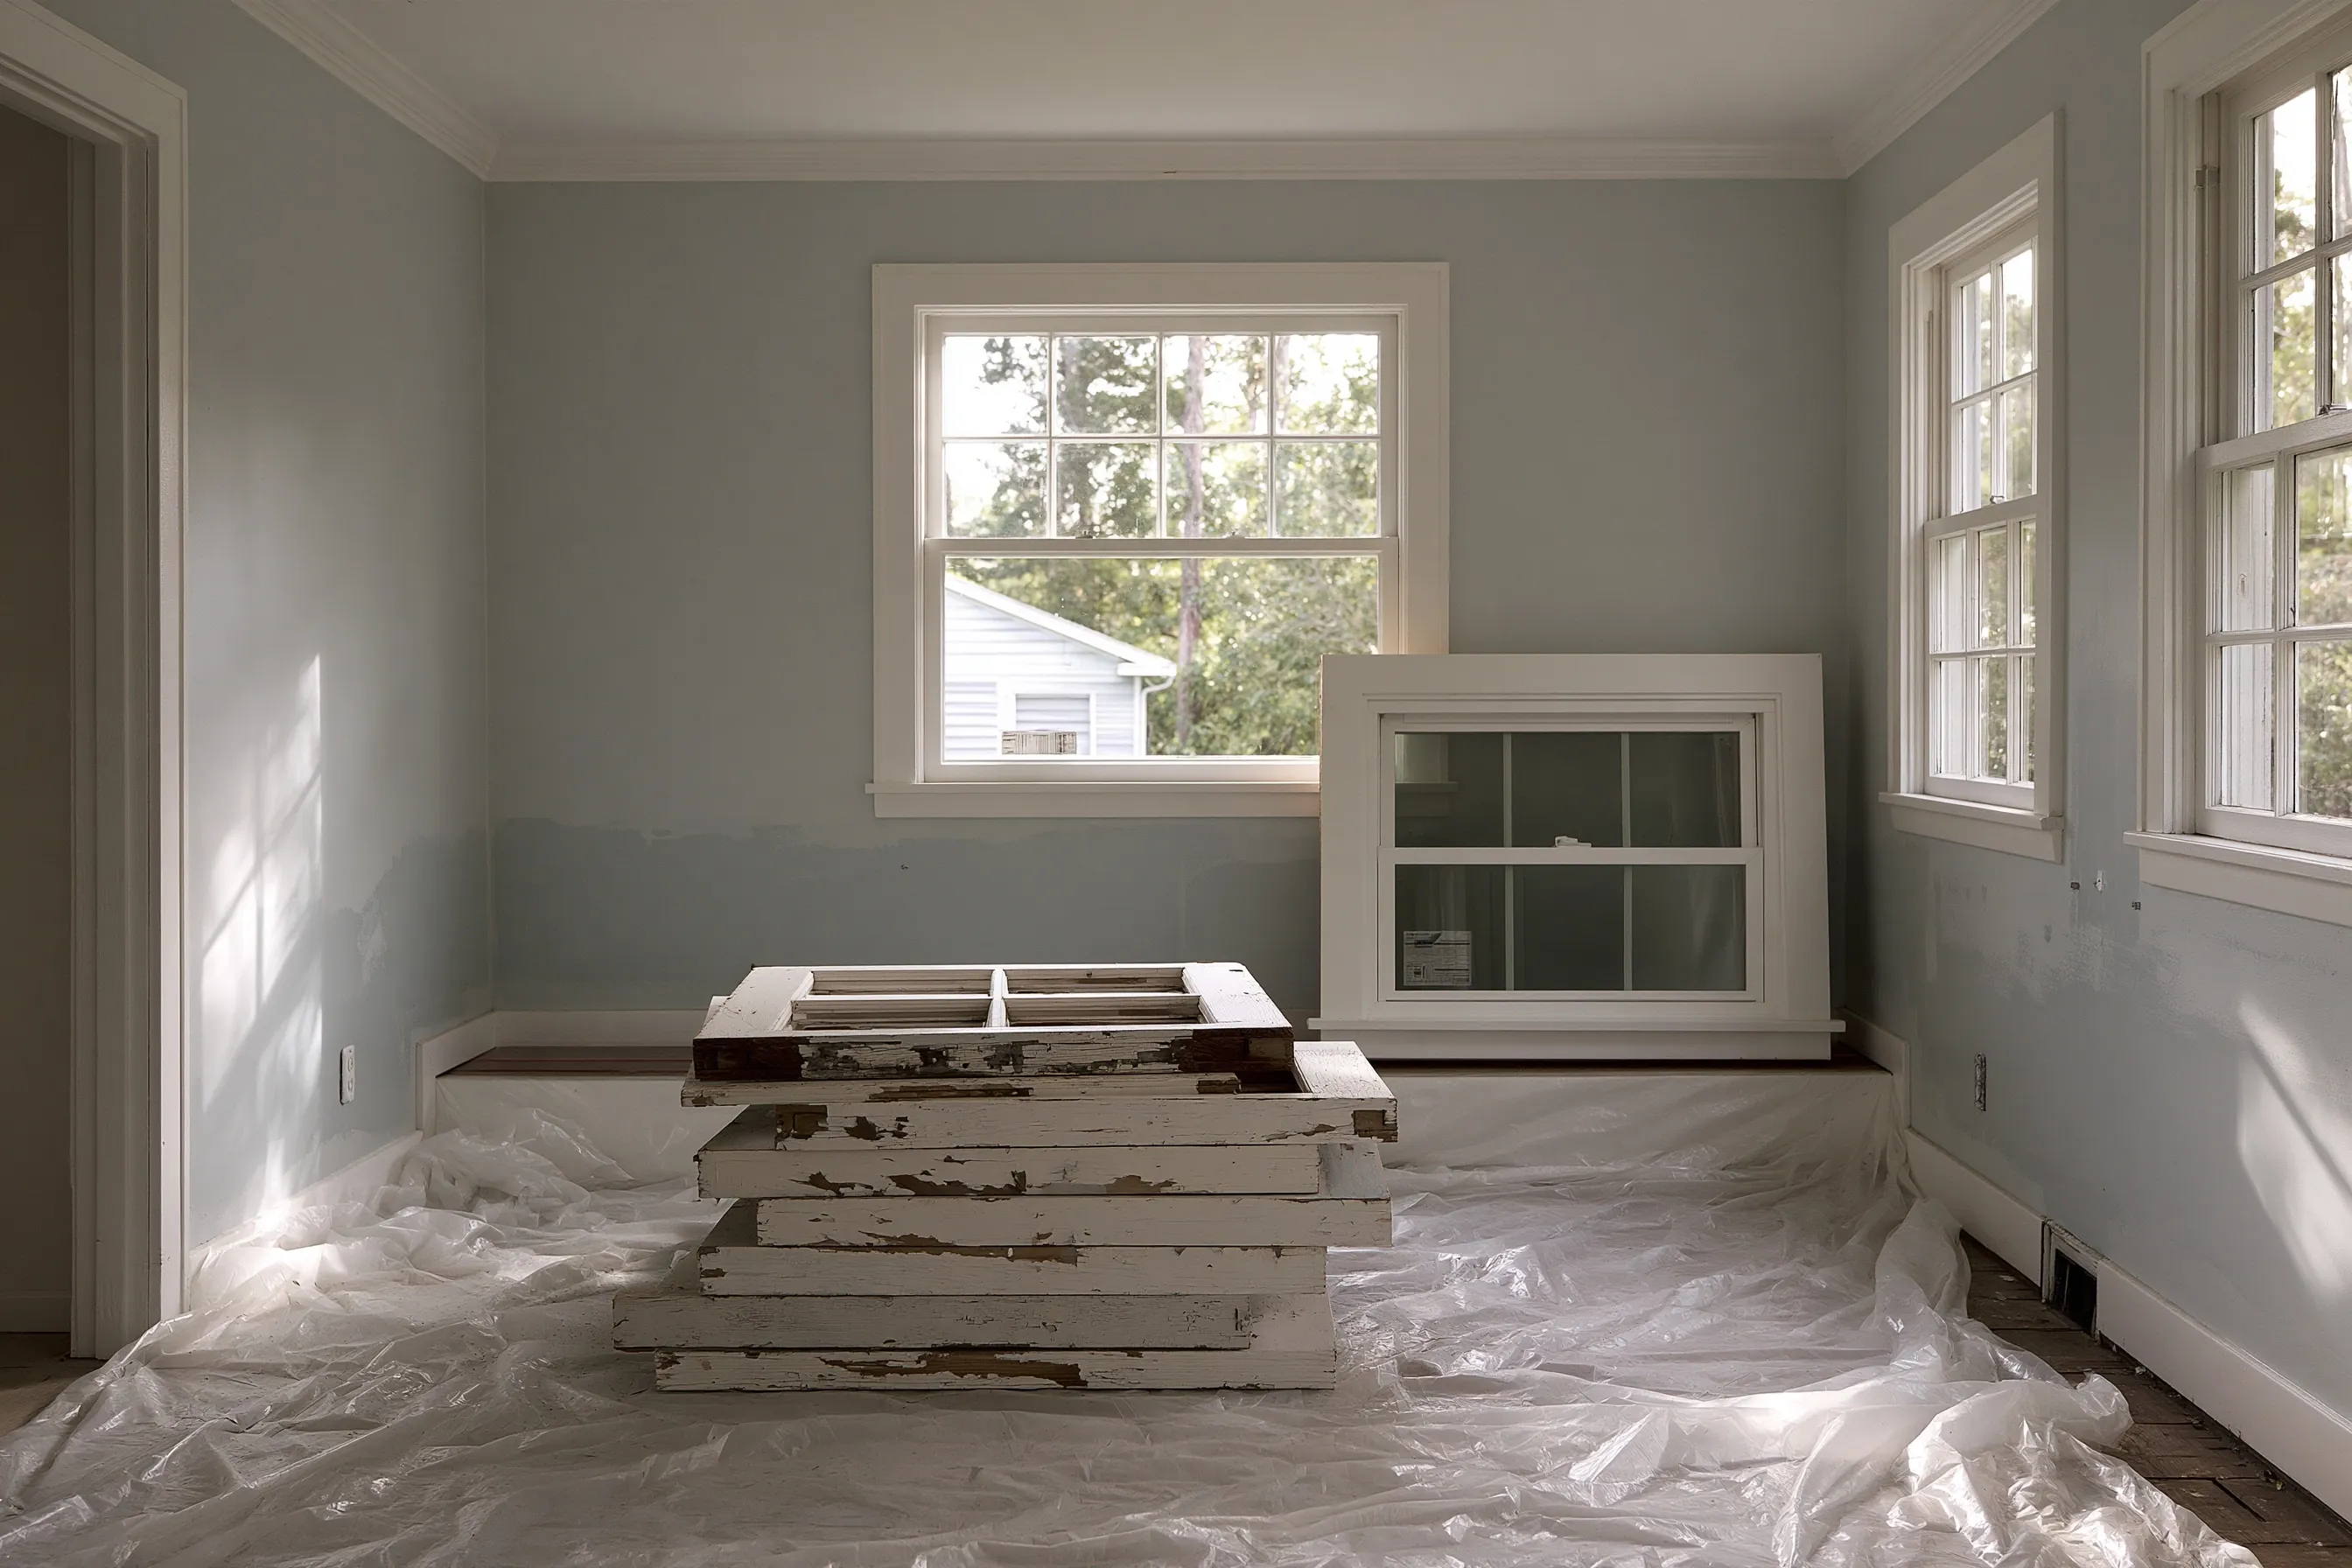
Old wood window sashes with chipped white paint stacked on plastic in a bedroom, and a new window unit propped against the wall
Home
1950s single-story house in Round Rock, about 1,300 sq ft
Original request
Replace four hail-broken windows through the insurance claim, and the other six at the same time
Testing
Lead paint on the sashes, parting beads and sills, and on the outside window trim; the inside casings tested clear
Windows
All ten double-hung wood windows swapped for new units sized to the old openings, inside casings kept
Outside
Paint chips the hail knocked off the north-side trim picked up from the beds, and the bare spots primed
Timeline
Windows ordered after the adjuster’s visit, then three working days
Estimated cost
$8,800

Scope of work

Broken glass and loose paint chips picked up by hand from the beds on the north side, plastic on the floor inside each window and on the ground outside, sashes, parting beads and sills misted and taken out whole, new windows set and sealed, the original inside casings kept and touched up, bare spots on the outside trim primed, HEPA vacuuming and wet wiping each day, a cleaning check of every sill and floor, and bagged disposal.

Project overview

In this example, a spring hailstorm breaks the glass in four windows on the north side of a 1950s Round Rock house and knocks old paint off the trim around them. The owners claim the four on their insurance and pay to replace the other six original wood windows at the same time, so all ten match.

The hail left lead paint chips in the flower beds, so those are picked up by hand before anyone walks through them. The window company lists the lead-safe work as its own line on the estimate, so the adjuster can see what it adds to the four broken windows. The inside casings tested clear and stay.

The goal

The goal is ten matching new windows in the original casings, no paint chips left in the beds, and an estimate the adjuster can follow.

Process

  1. Right after the storm Broken panes taped or boarded, and paint chips picked up from the beds.
  2. Before ordering Paint test, the adjuster’s visit and every opening measured.
  3. Days one and two Each day three or four old windows come out in one piece and their replacements go in.
  4. Day three Last windows set, outside trim primed, HEPA vacuuming, wet wiping and the cleaning check.

Planning right

  • Photograph the broken windows and the chips on the ground before cleaning up. The adjuster will ask.
  • Pick up paint chips by hand or with a damp cloth. A leaf blower or a hose spreads them.
  • Ask for the lead-safe work as a separate line on the estimate, so it is clear what the claim covers.
  • Hail that knocks paint off trim leaves bare wood. Prime it within a few weeks.

Get a free quoteMore about window, door and trim replacement

Lead paint removed for good from the doors and trim by the kitchen

Example project

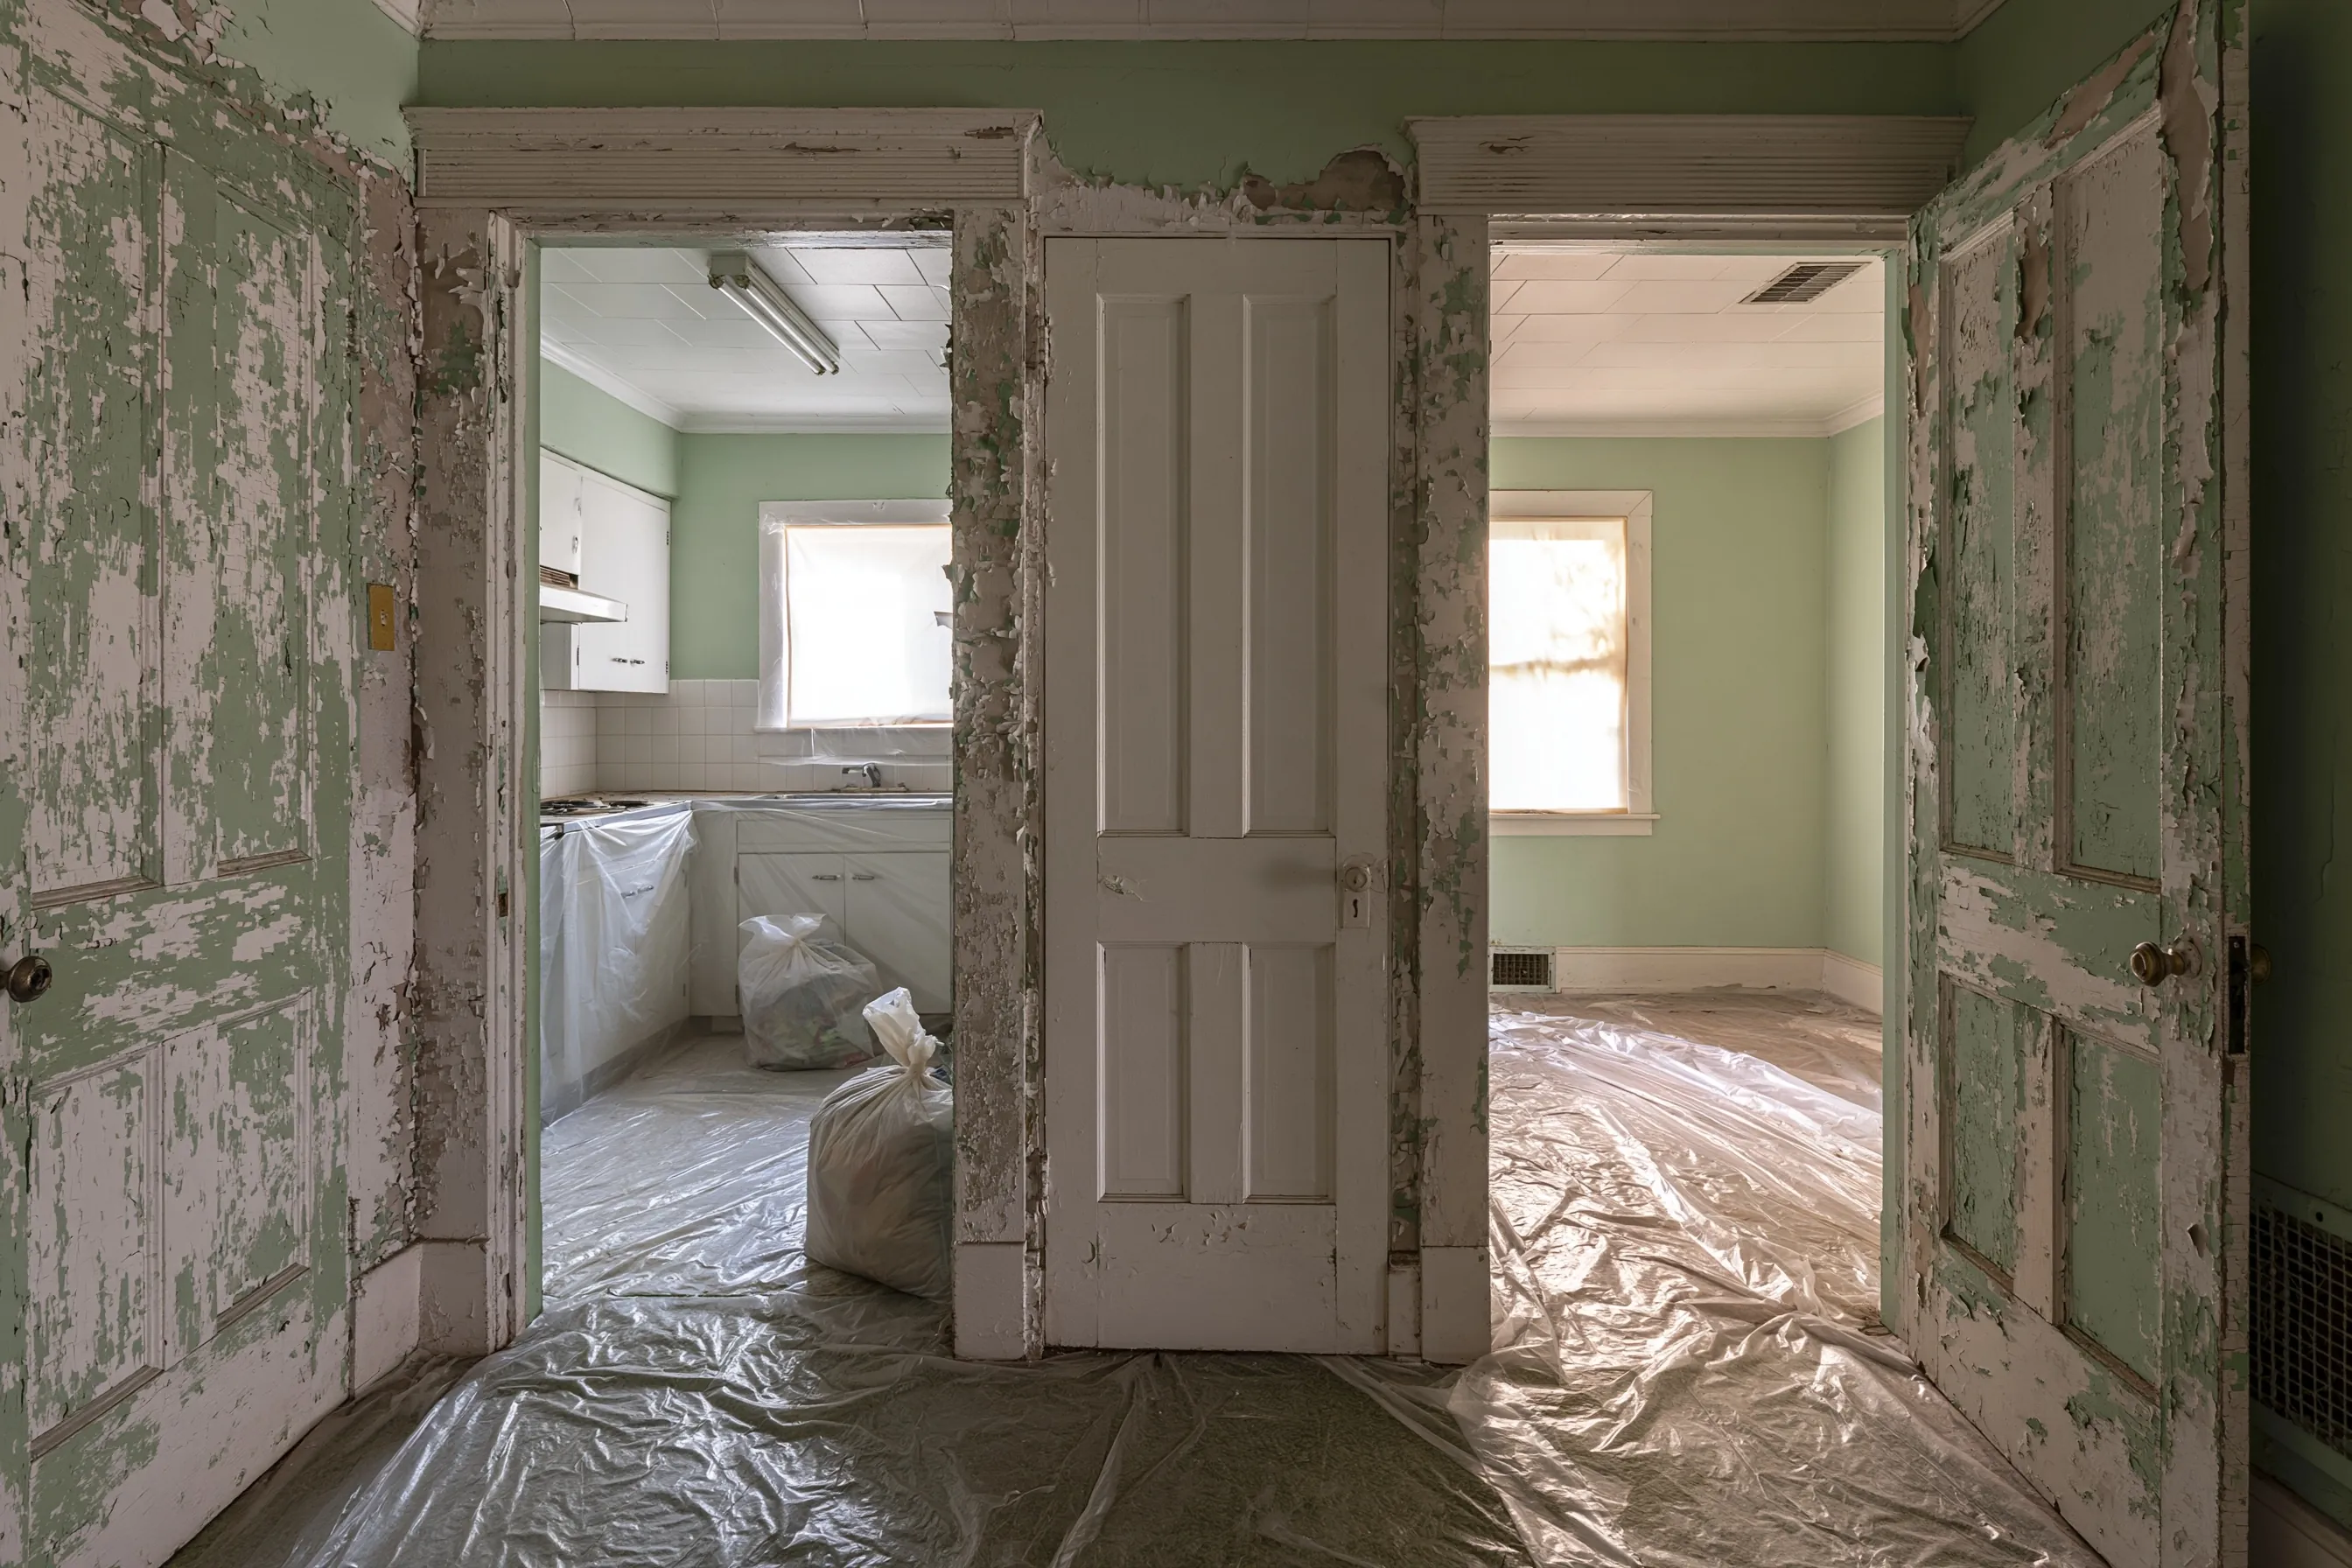
Hall in an older house with badly peeling painted doors and casings, plastic over the floor, and a kitchen beyond with plastic over the lower cabinets
Home
1950s single-story house in Georgetown
Original request
Get the peeling lead paint out of the hall for good before moving into an inherited house
Testing
Lead paint on the three hall doors, the casings of the kitchen doorway and the doorway beside it, and the baseboard; the kitchen cabinets tested clear
Work
The two worst doors taken out whole and replaced with new panel doors; the middle door, casings and baseboard stripped in place
Timeline
The state is told seven working days before work starts; the work takes four days, with the hall and kitchen closed
Estimated cost
$3,800

Scope of work

Notice to the state, the hall and kitchen sealed off and the cabinets and floors covered, the two worst doors misted, taken down whole, wrapped and bagged, new panel doors hung in their place, the middle door, casings and baseboard stripped in place with a chemical stripper and scraped wet, HEPA vacuuming and wet wiping, bagged disposal and a clearance test. The new doors themselves and repainting are extra.

Project overview

In this example, a woman inherits her parents’ 1950s Georgetown house, which has stood empty for two years, and plans to move in. The paint on the hall doors and the wide casings by the kitchen is peeling badly, and a test shows lead in it. The kitchen cabinets tested clear.

She wants the hall free of lead paint for good, and that aim is what makes this abatement, so the state gets notice seven working days ahead. The two doors peeling worst cost less to replace than to strip, so they leave the house whole. The middle door is in better shape and is stripped where it hangs, along with the casings and baseboard. Nobody moves in until the clearance test passes, and the report goes in the house file.

The goal

The goal is a hall with no lead paint left on its doors and trim, and a clearance report in the house file before move-in.

Process

  1. Before work State notice filed and two new panel doors ordered to fit the old openings.
  2. Day one Hall and kitchen sealed, cabinets and floors covered, the two worst doors misted, taken down and wrapped.
  3. Days two and three Middle door, casings and baseboard stripped in place, residue scraped wet and bagged.
  4. Day four New doors hung, HEPA vacuuming and wet wiping, then clearance samples.
  5. After the results Plastic down once the clearance test passes; painting and the move can start.

Planning right

  • Price each door both ways. A door peeling across every panel often costs less to replace than to strip.
  • An empty house is the easiest time for this work. Nobody has to move out or cook somewhere else.
  • Ask which parts tested positive. Here the cabinets were clear, so they only needed covering.
  • Prime the stripped wood within a few days. Bare wood soaks up dust and moisture.

Get a free quoteMore about interior lead paint removal

Cracked plaster walls covered for a home office

Example project

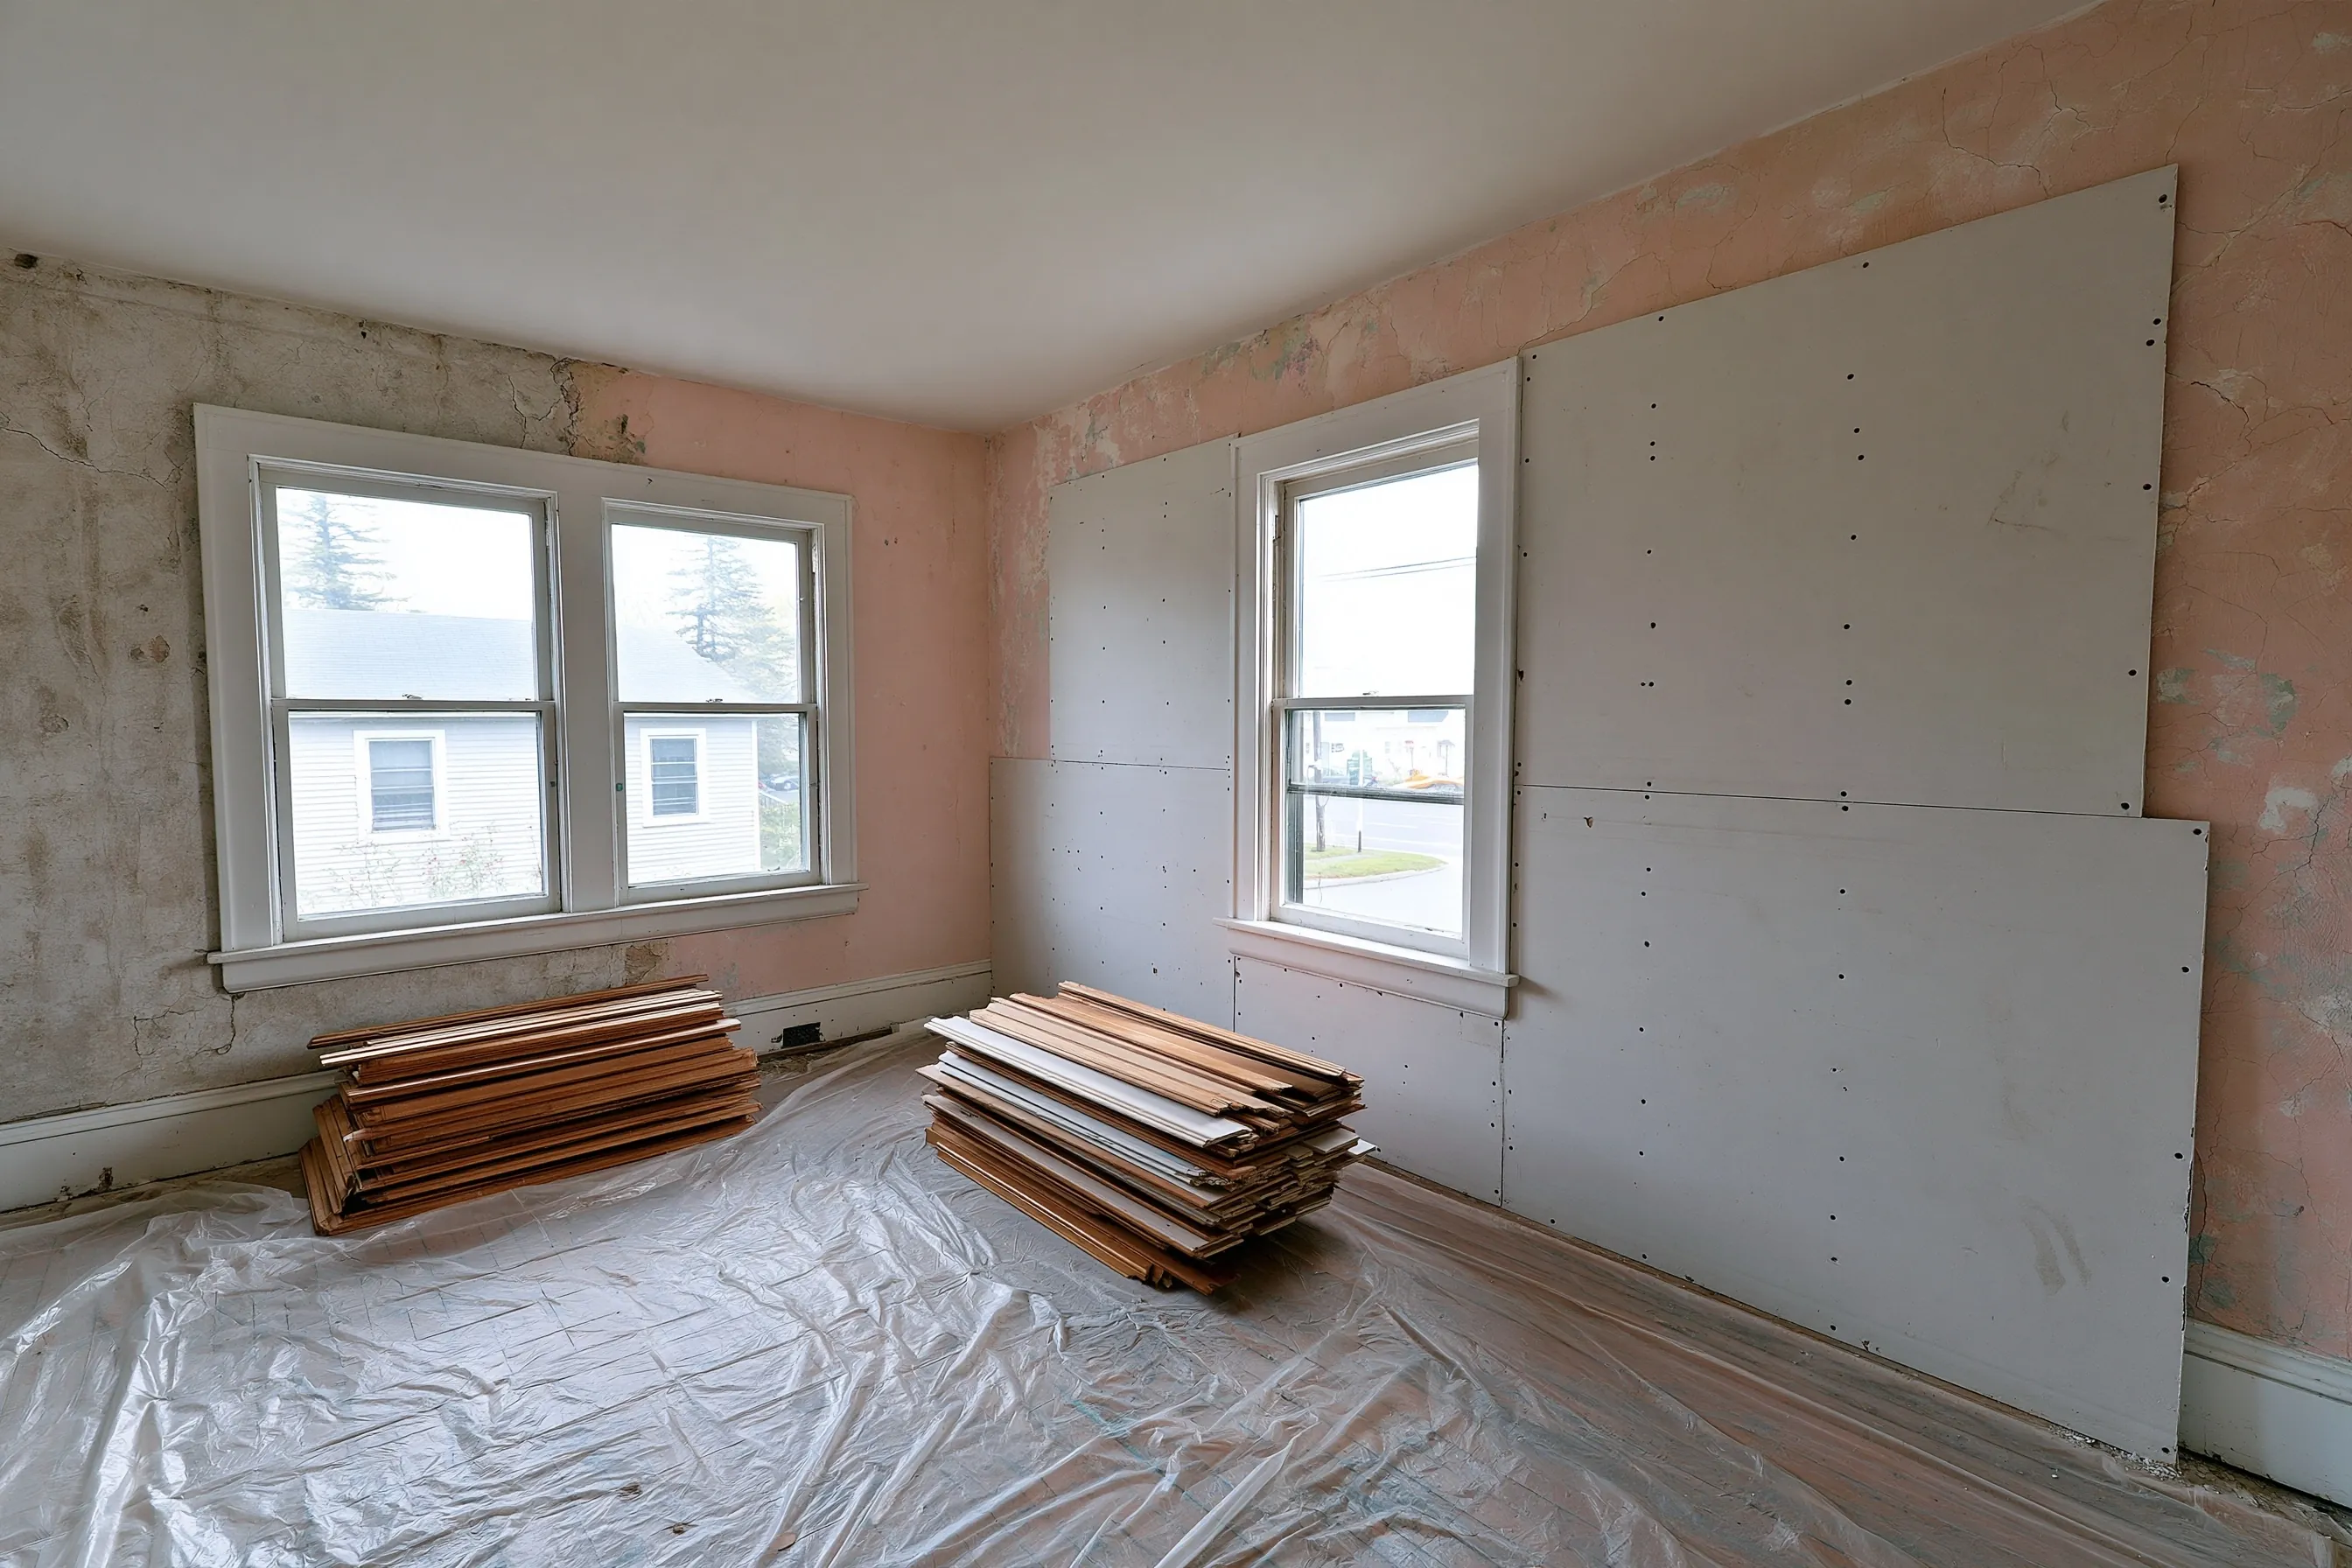
Back bedroom half covered in new drywall over cracked pink plaster, with trim boards stacked on plastic and the window casings still on
Home
1940s house in Round Rock with plaster walls
Original request
Turn the back bedroom into a home office with flat walls, without tearing out the plaster
Testing
Lead in the old wall paint over the plaster; window trim, door trim and baseboard clear
Area
Four walls, about 350 sq ft in all
Work
New drywall screwed over the plaster with sealed edges, the door casing reset on top and deeper new baseboard
Timeline
Five working days, with a cleaning check at the end
Estimated cost
$4,200

Scope of work

The room closed off and the floor covered, loose paint misted and scraped, drywall screwed through the plaster into the studs with every edge sealed, the door casing taken off and reset on the new wall, the old baseboard swapped for deeper baseboard that covers the drywall edge, primer and paint, HEPA cleanup and a cleaning check.

Project overview

In this example, the owners of a 1940s Round Rock house want to make the back bedroom a home office. The plaster is sound but cracked and wavy, and their first plan is to tear it out. A test then finds lead in the old wall paint, and tearing out painted plaster is one of the dustiest jobs in an old house.

Covering the plaster gives the same flat walls with far less dust. The aim is a new office, not getting rid of the lead for good, so the job runs under the EPA lead-safe rules for remodeling, with a cleaning check at the end. The same drywall put up as a permanent lead fix would be abatement, with notice to the state.

The goal

The goal is a quiet office with flat new walls, the old lead paint left undisturbed behind them, and a clean room at the end.

Process

  1. Before work Paint test, office outlets and switches planned, drywall delivered.
  2. Day one Floor covered and the doorway closed with plastic, flaking spots wetted and scraped, door casing pried off.
  3. Days two and three Sheets screwed through the plaster into the studs one wall at a time, then the joints finished.
  4. Day four Door casing reset, the old baseboard swapped for deeper baseboard, primer and paint.
  5. Day five HEPA vacuuming, wet wiping and the cleaning check before the plastic comes down.

Planning right

  • Ask for a test before any plaster comes out. Covering lead-painted plaster makes far less dust than removing it.
  • Plan the office outlets and data cable before the drywall goes up. Adding them later means cutting the new wall.
  • Wavy plaster shows through thin sheets. Half-inch drywall screwed to the studs gives a flat face.
  • Keep the test report in the house papers, so a later remodel knows what is under the drywall.

Get a free quoteMore about lead paint encapsulation and enclosure

Peeling lead paint on the wood siding of a frame house

Example project

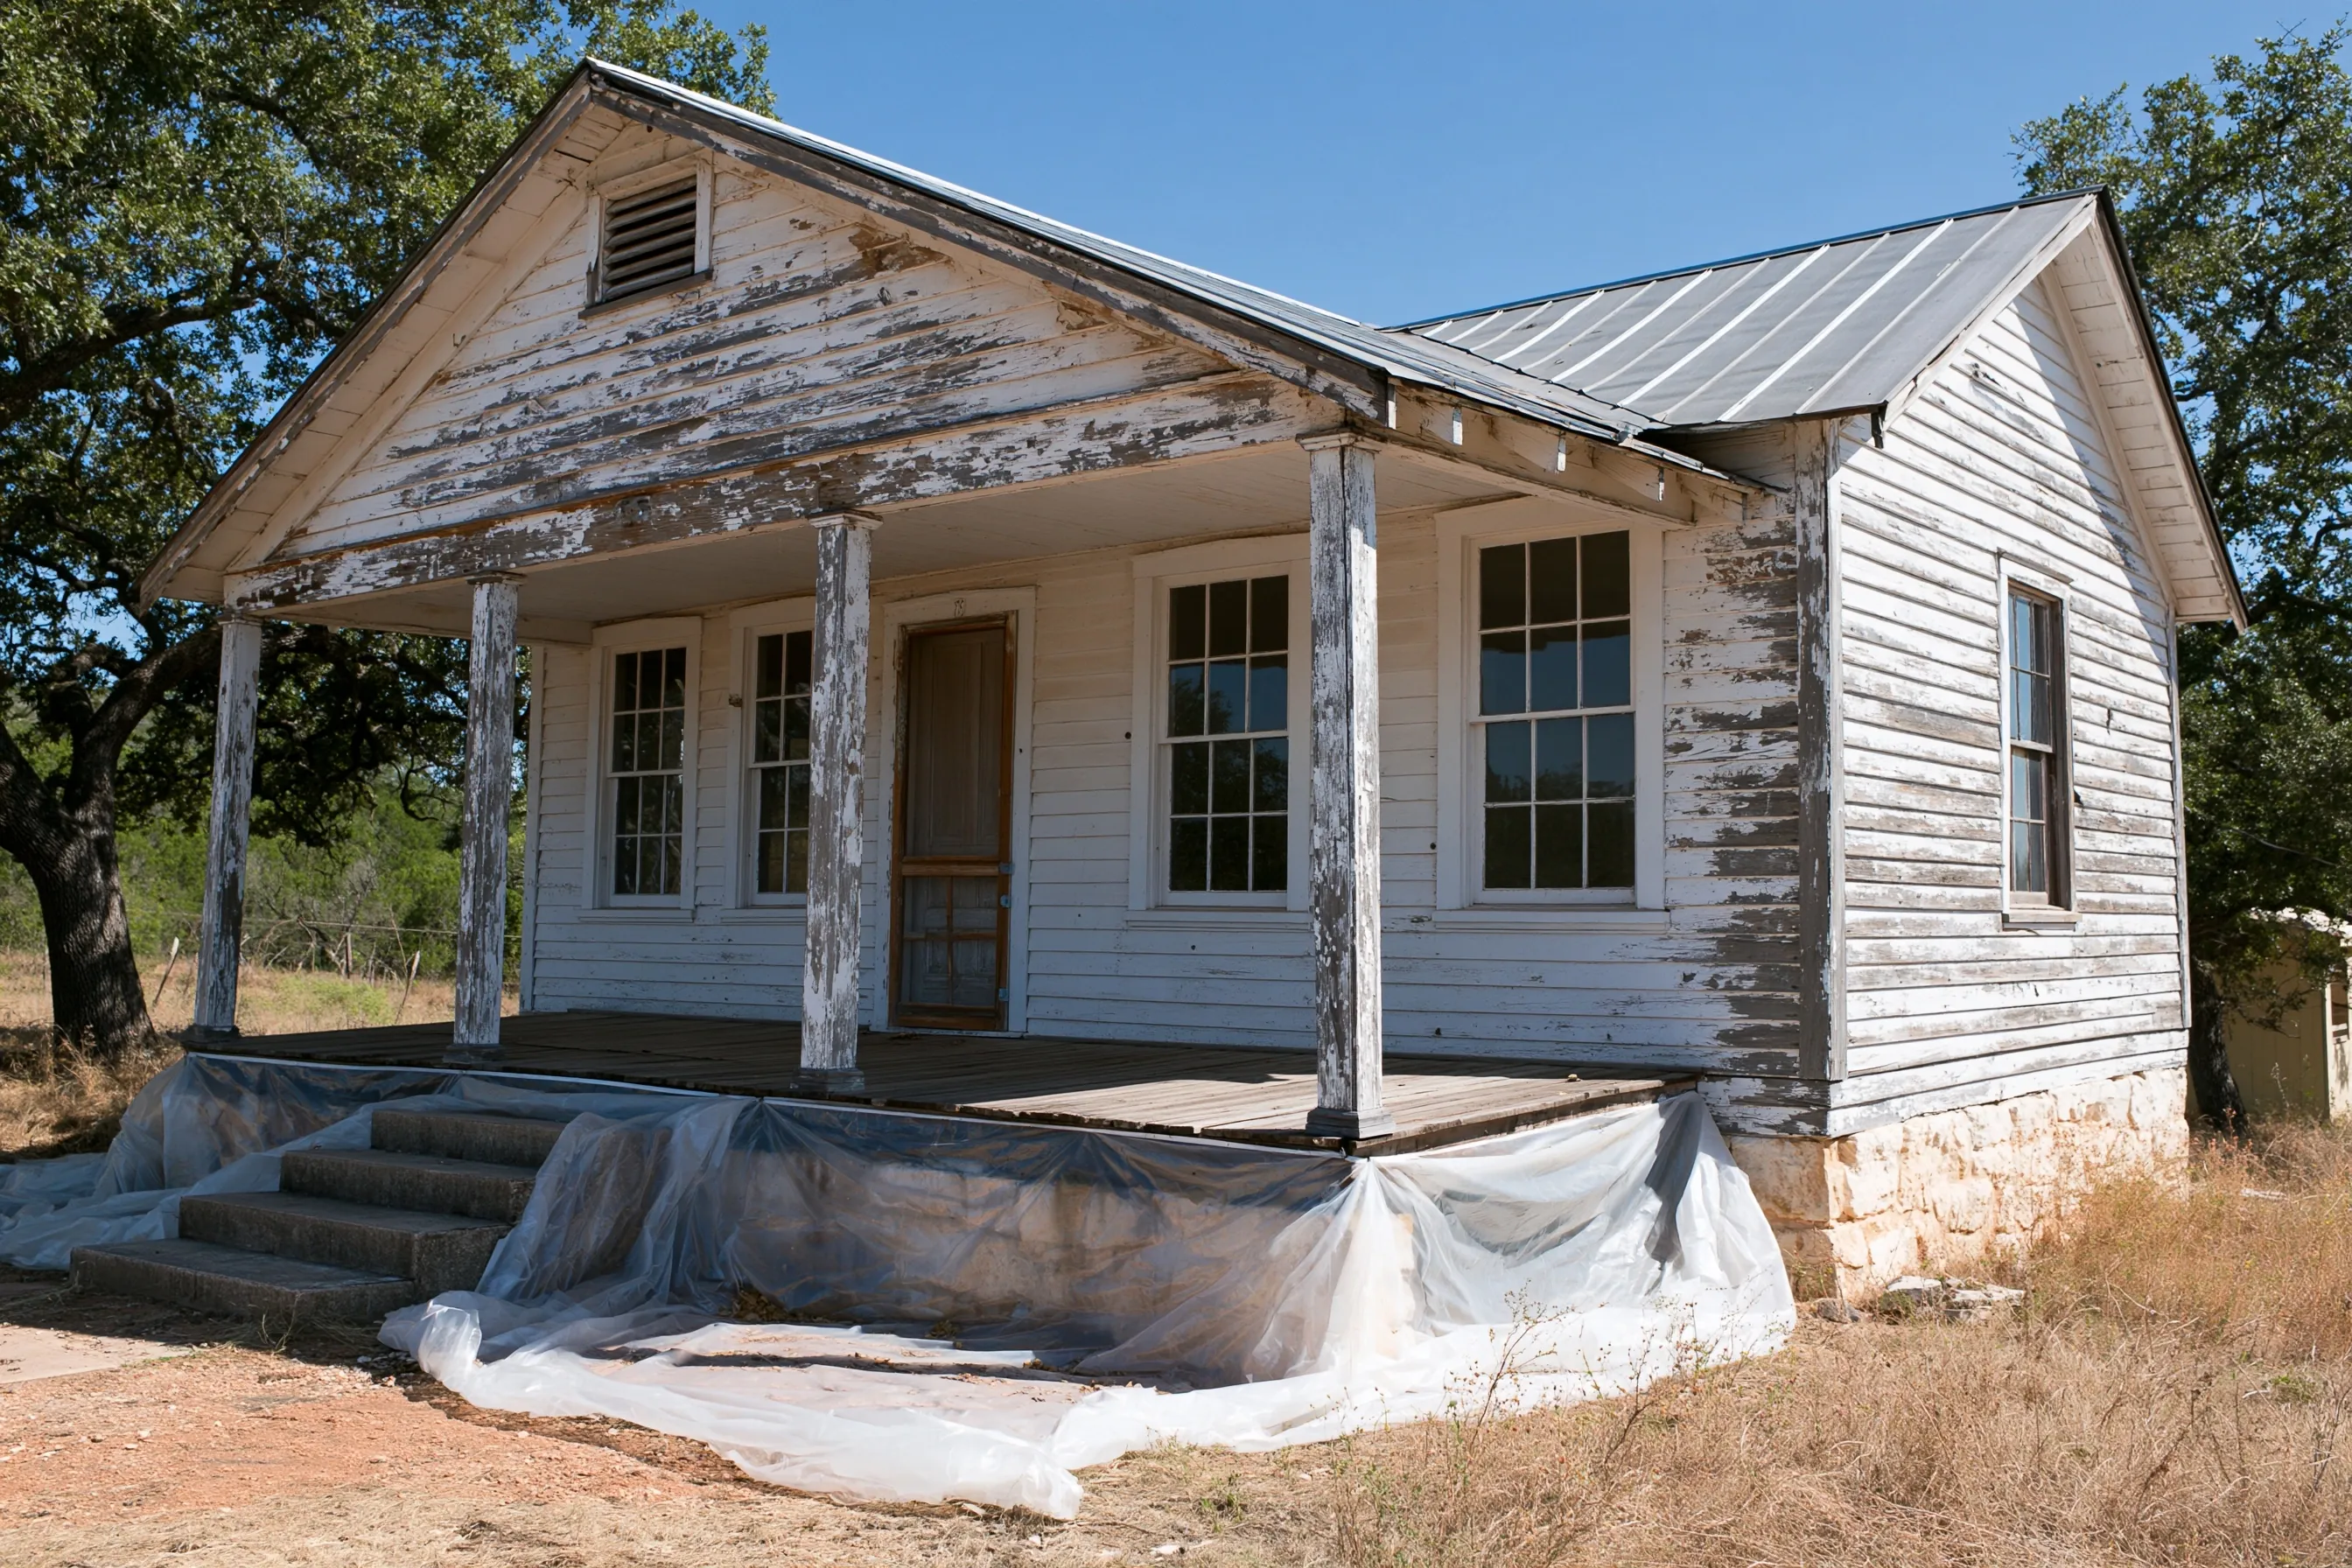
Older one-story frame house with peeling white paint on its wood siding, porch posts and gable, a metal roof, and plastic laid along the front porch
Home
1940s one-story frame house in Georgetown, about 1,100 sq ft, with wood siding
Original request
Repaint the empty house before renting it out, and keep the original wood siding
Testing
Every painted part tested positive, from the siding boards and window trim to the porch posts and eaves
Surfaces
All four walls of siding, the window and door trim, the front porch posts and beam, and the eaves
Work
Loose paint misted and scraped by hand, bare gray boards scrubbed and oil-primed, then two top coats; three rotten boards swapped first
Timeline
About eight working days, mornings only in the summer heat
Estimated cost
$8,400

Scope of work

Plastic on the ground around the house and over the porch steps, windows and doors closed, loose paint scraped wet, edges sanded with tools fitted to HEPA vacuums, chips picked up every evening, the bare gray boards scrubbed and given an oil primer, two top coats on the siding, trim, porch posts and eaves, and the plastic folded and bagged at the end. Replacing the three rotted boards is carpentry, priced on its own line.

Project overview

In this example, the owners of a 1940s frame house in Georgetown want to rent it out after it has stood empty for some years. The paint on the wood siding is peeling worst on the walls that take the afternoon sun, and in places the boards have weathered gray. Testing shows the old paint on the boards, the window trim, the porch posts and the eaves all contains lead.

The owners want to keep the original boards, so the paint comes off by hand with plastic on the ground, never with a pressure washer or dry sanding. The gray boards get a scrub and an oil primer that soaks in before the top coats. Three boards that are rotted through are replaced first, and the carpentry is priced apart from the paint work.

The goal

The goal is the original wood siding saved and repainted before the first tenant moves in, with no lead paint chips left in the yard.

Process

  1. Before work Lead test, soft boards marked, and the rotted ones replaced by the carpenter.
  2. Day one Ground and porch steps covered in plastic all the way round; windows and doors shut.
  3. Days two to five Each day one wall with its trim misted, scraped by hand and edged with HEPA-vacuum sanders.
  4. Days six and seven Oil primer on the bare boards, then two top coats.
  5. Last day Plastic rolled up from the edges and bagged, the yard searched for stray chips, and a final look with the owners.

Planning right

  • A pressure washer is never used here. It would throw old lead paint into the dry grass, where nobody can pick it up.
  • In summer, paint early in the day. Hot boards in full sun dry the paint too fast.
  • Give the first tenant a copy of the test report. Renters of a house this old are owed what the owner knows about lead.
  • On a property in a historic district, ask the city’s preservation staff before swapping any siding for a different kind.

Get a free quoteMore about exterior lead paint removal

Request a free lead paint removal quote

Tell us roughly when the house was built, which surfaces you are worried about, whether any test has been done and what work you are planning. We'll get back to you soon to arrange a visit or with any questions we have. Estimates are free and there's no obligation.

Call (737) 237-5995